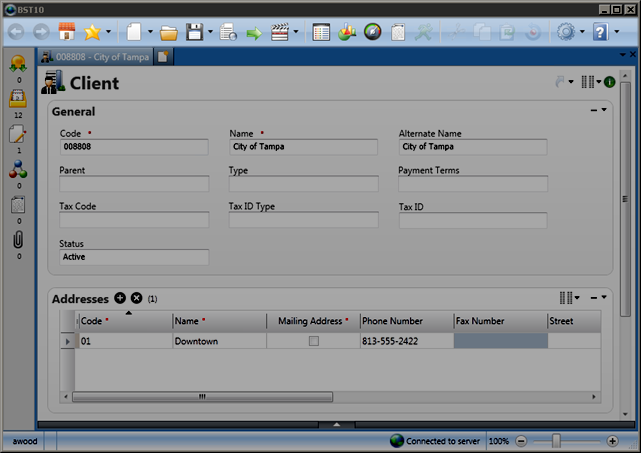
Toolbar Overview
The toolbar contains controls and options that allow you to work with documents, dashboards, inquiries, and reports in the system. The toolbar is divided into sections, which represent different types of tasks. The available options are dependent on what you have selected in the content pane.
The navigation section contains options that allow you to navigate documents, dashboards, inquiries, and reports in the content pane.
| Name | Button | Description |
|---|---|---|
| Back |

|
Click the Back button to move backwards within a tab's browse history. Up to 15 previous screens are available. This only works within a single tab that does not have changes on it. Once the tab is closed, the history is cleared. |
| Forward |

|
Click the Forward button to move forwards within a tab's browse history. Up to 15 previous screens will be available. This only works within a single tab that does not have changes on it. Once the tab is closed, the history is cleared. |
| Home |

|
Click the Home button to display your selected home page. The Welcome page is displayed by default. For information on how to change the default, see the Home Page area in or Manage Content Pane Tabs. |
| Favorites |

|
Click the Favorites button to access options that allow you to add, maintain, and access a list of your favorite documents. For more information, see Manage Favorites. |
The document section contains options that allow you to create and maintain document data.
| Name | Button | Description |
|---|---|---|
| New |

|
Click the New button to add a new document. The New dialog box contains a list of documents that you are authorized to create. For more information, see Add a Document. |
| Open |

|
Click the Open button to search for and display an existing document. The Open dialog box contains a list of documents that you are authorized to view and edit. For more information, see Open a Document. |
| Save |

|
Click the Save button to save a new or modified document. For more information, see Save a Document. |
| Validate |

|
Click the Validate button to manually validate the current, displayed document. For more information, see Validate a Document. |
| Submit |

|
Click the Submit button to submit the current document to the next step in the workflow process. For more information, see Submit a Document and Workflow. |
| Actions |

|
Click the Actions button to perform an action on a document. Depending on the type of document selected and its workflow, the drop down list may include one or more of |
The information delivery section contains options that allow you to access and run inquiries, charts, dashboards, and reports.
| Name | Button | Description |
|---|---|---|
| Open Inquiries |

|
Click the Open Inquiries button to view a list of all inquires you are authorized to view. For more information, see How to Use an Inquiry. |
| Open Dashboards |

|
Click the Open Dashboards button to view a list of all dashboards you are authorized to view and edit. For more information, see Work with Dashboards. |
| Reports |

|
Click the Reports button to view a list of all reports you are authorized to view. For more information, Run and View a Report. |
| Run |

|
Click the Run button to execute inquiries, dashboards, and reports. This is also available for documents that will also run a report such as payment generation. This button is disabled until all of the required selection criteria have been entered into the inquiry, dashboard, or report. |
This data management section contains options that allow you to work with data in the content pane.
| Name | Button | Description |
|---|---|---|
| Cut |

|
Click the Cut button to cut the text or item that you have selected in the content pane. |
| Copy |

|
Click the Copy button to copy the text or item that you have selected in the content pane. |
| Paste |

|
Click the Paste button to paste any content you have cut or pasted to the clipboard to your current cursor location. |
| Refresh |

|
Click the Refresh button to revert an edited document instance back to the original state of the last time it was saved. |
The personalization section contains options that allow you to manage your personal configuration and preferences of the desktop application.
| Name | Button | Description |
|---|---|---|
| Personalization |

|
Click the Personalization button to maintain various BST11 options. Available options include:
|
| Help |

|
Click the Help button to view Help and version information about the application. Available options include:
|