Client - Default View - Screen Description
The Client screen allows you to add and define clients. A client is an entity that contracts services from the company. Each client contains the trade and relationship information that is used for projects, billings, and collections.
- To create a new contact, opportunity, or project that includes a client's information, open the client and then click the Related Items
 button and select the New Contact, New Opportunity, or New Project option. A new, unsaved document with the client's information will be displayed.
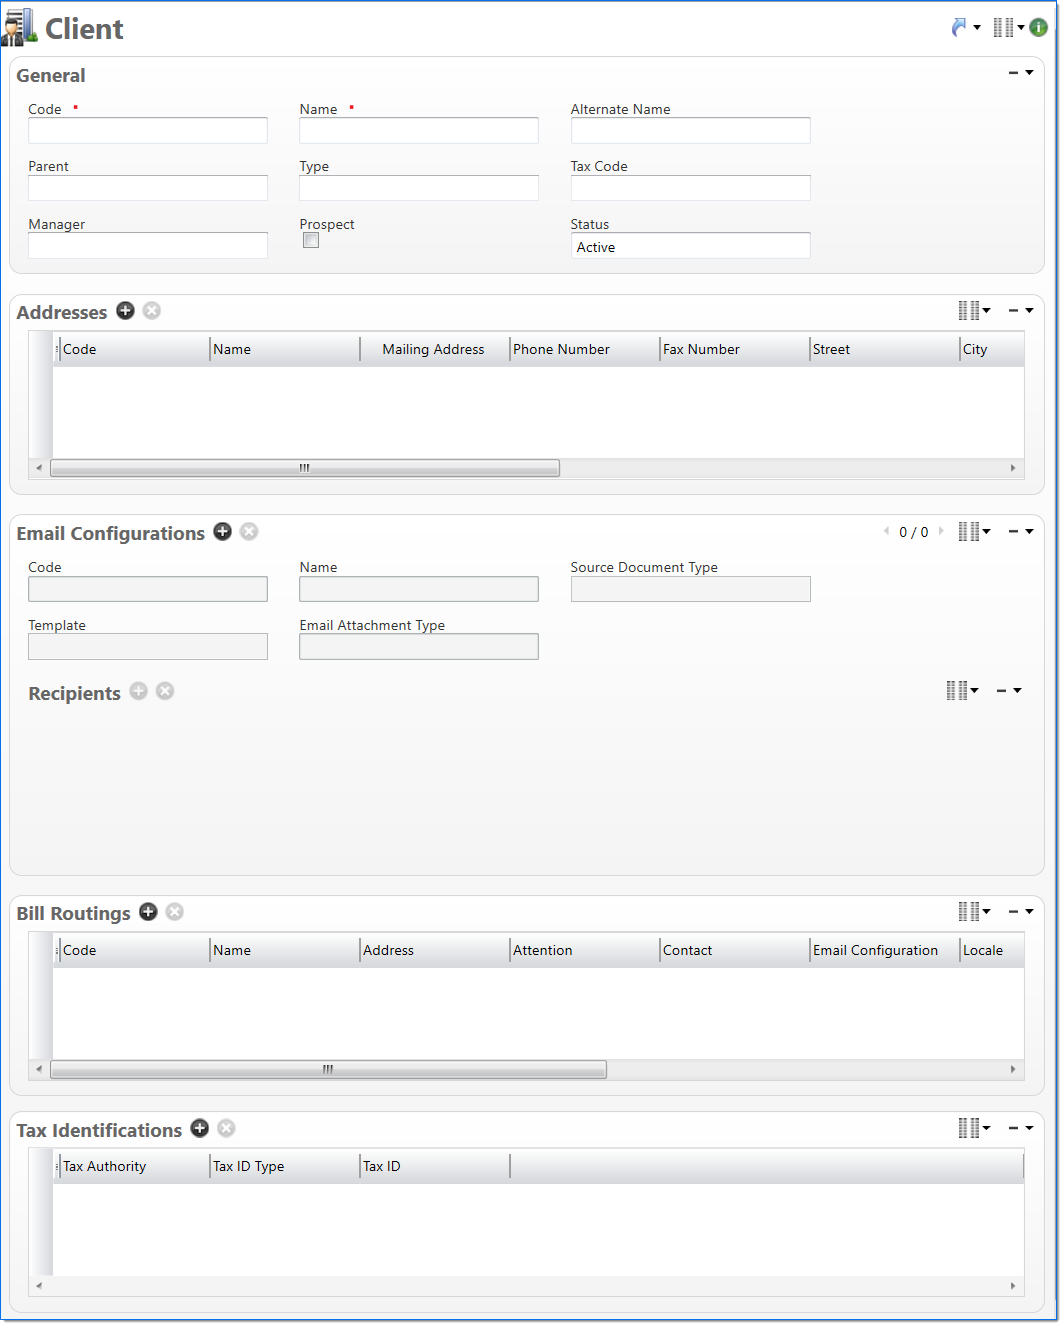
General
In the General area, enter client information.
| *Req'd | Field | Description |
|---|---|---|

|
Code | Enter a unique alphanumeric key to identify the document. Once a code has been entered and the document has been submitted to final, it typically cannot be changed. This field automatically prepopulates and be read-only if an auto-counter has been defined for this type of document. |
|
|
Name | Enter a name to describe the document. The name does not have to be unique. |
| Alternate Name |
Enter an alternate name for the client. |
|
| Parent |
Enter or select the client's parent company. This could be necessary when a client has multiple divisions or affiliates. When used, this field allows multiple clients to be grouped and reported on as one consolidated client. If the client does not have a Parent, this field can be left blank. |
|
| Type |
Enter or select an active client type. This is a reporting parameter that is used to group and sort client data. |
|
| Tax Code |
Enter or select an active tax code. This will be used as a default when creating the bill terms on a project. For more information, see General. |
|
| Manager | Enter or select the employee who manages the relationship with the client or prospect. Only active or pending active employees can be selected. | |
| Prospect | Select if the client is a prospect. This implies that the business organization is a potential customer of the firm’s professional service offerings. | |
| Status |
Select the status of the document. |
Addresses
In the Addresses area, enter one or more addresses. It is used to track addresses of different locations. Multiple addresses can be defined. Each address code must be unique for the client.
| *Req'd | Field | Description |
|---|---|---|
|
|
Code |
Enter a code for the address. This must be unique to the document instance but does not have to be globally unique. |
|
|
Name | Enter a name to describe the address. This does not have to be unique. |
| Mailing Address |
Select if this address can be used to send and receive mail. If selected, Street, City, and Country are required. |
|
| Phone Number | Enter a telephone number for the contact. | |
|
Fax Number |
Enter a fax number for the contact. | |
| Street | Enter the street address. This field is required when Mailing Address is selected. | |
| City | Enter the city. This field is required when Mailing Address is selected. | |
| State/Province | Enter or select the state or province. This field is required when Mailing Address is selected and the selected Country is set to have States or Provinces. For more information, see Country. | |
| Zip/Postal Code | Enter the zip or postal code. This field is required when Mailing Address is selected and the selected Country is set to have postal codes. For more information, see Country. | |
| Country | Enter or select the country. This field is required when Mailing Address is selected. | |
| Status | Select the status of the address. | |
| Primary | Select if this is the primary address. |
Email Configurations
In the Email Configurations area, define email configurations and a list of recipients to receive notifications from the final bill process. You can create Email Configurations and attach them to Bill Routings. For additional information on email capabilities, see Manage Emails.
|
Note: The Final Bill Email feature only emails the Final Bill report and not the Final Bill Packet due to large file size and email server size limitations on the client side. |
| *Req'd | Field | Description |
|---|---|---|
|
|
Code |
Enter a unique code for the value. This is used to identify the value. Once a code has been entered and submitted, it cannot be changed. |
|
|
Name |
Enter a name to describe the value. The name does not have to be unique. |
|
|
Source Document Type | Enter or select a source document type. This is the BST11 document type associated with the email. |
|
|
Template |
Enter or select an active email template. A template defines the information, structure, and layout that will be included in emails. |
| Email Attachment Type |
Select an email attachment option from the drop-down list:
|
Recipients
The Recipients list allows you to define a list of people to receive email notifications. At least one of the To, Cc or Bcc or Reply To fields must be selected for each recipient.
| *Req'd | Field | Description |
|---|---|---|
| Email Address Type |
Select the type of recipient:
|
|
| Contact |
Enter or select a contact. Only active employees that have an email defined can be selected. This field is required when Type is Contact. |
|
| Employee |
Enter or select an employee. Only active employees that have an email defined can be selected. This field is required when Type is Employee. |
|
| Email Address |
When Type is Specified Address, enter a valid email address. |
|
| To |
Select to add the recipient to the To line in the email. By default, To is selected. |
|
| Cc |
Select to add the recipient to the Cc line in the email. |
|
| Bcc |
Select to include the recipient in the BCC field of emails. |
|
| Reply To |
Select to include the recipient in the Reply To field of emails. This option can only be selected for one recipient (email) and cannot be selected for a contact type recipient. |
Bill Routings
In the Bill Routings area, enter or select the Contact and Address where bills should be sent. Only contacts that are in a final state are available for selection. Available Addresses are limited to mailing addresses. Each Billing Routing code must be unique for the client.
In Project, the Bill Routing is associated with the project's bill terms and will be used when bills are generated for project charges.
When you select a Bill Routing option from the Client Bill Routing field in the Bill Terms section of the Project document, the system automatically pulls in any other email configurations you have set up in the Email Configurations document. You can override these configurations by selecting the Bill Term option from the Email Configuration Basis field in the Project document.
| *Req'd | Field | Description |
|---|---|---|
|
|
Code | Enter a unique alphanumeric key to identify the document. Once a code has been entered and the document has been submitted to final, it typically cannot be changed. |
|
|
Name | Enter a name to describe the bill routing. The name does not have to be unique. |
| Address |
Select the appropriate address to be used for the bill routing. |
|
| Attention | Enter a party, team, or department to use in place of selecting a Contact for the address on the bill routing. | |
| Contact |
Select the appropriate contact person to be used for the bill routing. |
|
| Email Configuration |
Indicates the email configuration associated with the Bill Routing code and name displayed in that row.
|
|
| Locale |
Select the locale to be used for the bill routing. This is used to define date and numeric formats. The locale is presented in ISO standard format by language and country to allow ease of localization. This table is pre-populated in BST11. |
|
| Date Format | Select the date format to use on the Bill and Receivable Statement reports. Available options include None, DD MMM YYYY, DD.MMM.YYYY, DD/MMM/YYYY, and DD-MMM-YYYY. | |
| Payment Term | Enter or select the default payment term to use when bills are sent for project charges. The payment term is used to describe the number of days within which a bill must be paid before interest will be charged on the overdue debt. | |
| Receivable Statement | Select if a Receivable Statement report should be generated for the client's projects. For more information about the report, see Receivable Statement (Report). | |
| Status |
Select the status of the document. |
Tax Identifications
In the Tax Identifications area, enter the tax authorities, tax ID types, and taxes to use in the company tax calculation processes. For more information about tax authority setup, see Tax Authority. For more information about tax ID Type setup, see Tax ID Type.
| *Req'd | Field | Description |
|---|---|---|
| Tax Authority | Enter or select an active tax authority. This is the entity to which taxes withheld will be remitted. | |
| Tax ID Type | Enter or select an active tax ID type. This defines the type of tax that you will enter in the Tax ID field. | |
| Tax ID | Enter a tax identification number. For example, you might enter a VAT registration number. |