Email Template
The Email Template screens allows you to create an email template. In the template, you can select a source document and transform, set the email importance level, and then use a series of formatting tools and data tags to define what will be included in and how emails generated by the system will look.
- Preview Template: To preview how the template will display in created emails, select Related
 > Preview Email.
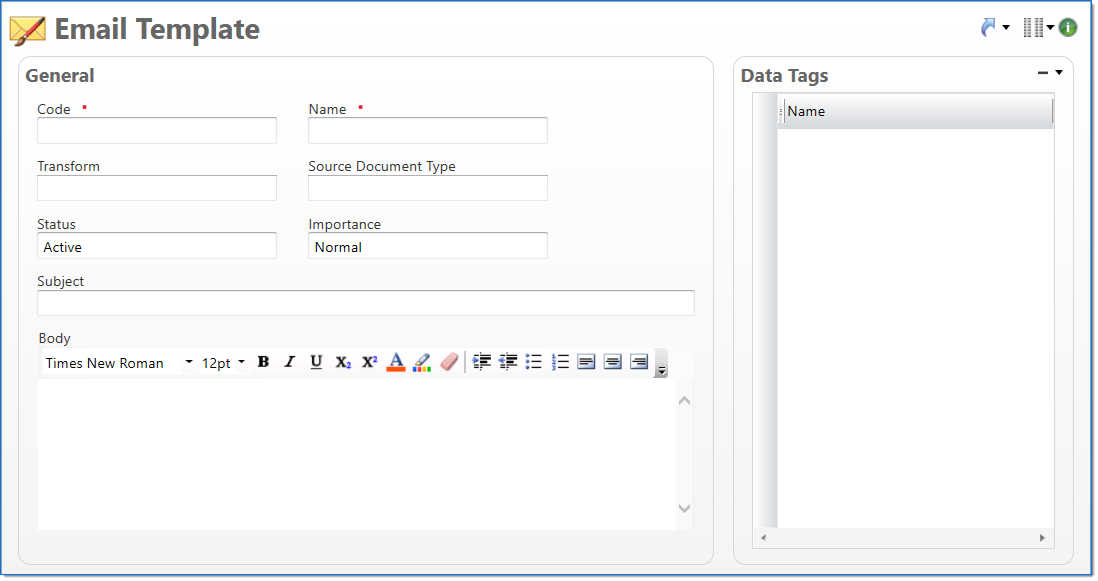
General
In the General area, enter general information about your template, select a Transform and Source Document Type, and then use the Subject and Body fields to build your email template.
| Field | Description | |||
|---|---|---|---|---|

|
Code | Enter a unique alphanumeric key to identify the document. Once a code has been entered and the document has been submitted to final, it typically cannot be changed. | ||
|
|
Name | Enter a name to describe the document. The name does not have to be unique. | ||
| Transform |
Enter or select an email transform. This field is required when a Source Document Type is selected. |
|||
| Source Document Type |
Enter or select the source document type. This is the BST11 document type associated with the email. When a Transform is selected, a default source document type is automatically selected; however, this field can be edited as needed. This field is required when a Transform is selected. |
|||
| Status | Select the status of the document.
|
|||
| Importance |
Select the level of importance for the email. Available options include High, Low, and Normal (default). |
|||
| Subject |
Enter the text to display in the subject line of the email. This field can include text and data tags. Up to 256 characters can be entered. While a Subject is not required, a message will display if this field is blank. |
|||
| Body |
Enter the text to display in the body of the email. This field can include formatted text, links, images, tables, and data tags. While a Body is not required, a message will display if this field is blank. |
|||
Formatting Issues
As noted above, a formatting editor, images, tables and data tags are available for the body content of an email. While use of most of these functions is straightforward, table construction and arrangement may be confusing. Besides the explicit table feature in the editor, the pipe (|) character may be used as a shortcut to create a table.
As an example, the following construct creates a table around the email presentation of the data represented by the sample data tags shown in brackets.
{ReferenceNbr}|{Date}|{BalanceOwed}|{AmtPaid}
Data Tags
The Data Tags area contains a list of the available data tags for the selected Transform and Source Document Type. A data tag is representative of a piece of data from the database. When it is added to the template, it automatically pulls the data relevant to the email and inserts it into the email when it is sent.
- Add a Data Tag: To add a data tag, select it in the Data Tags area and then drag and drop it in the Subject or Body field.
The data tag is added encased in brackets. - Delete a Data Tag: To remove a data tag, delete the text, including the brackets, from the field.